

10 Ways to Choose Vegan Trainers That Deliver Style, Comfort, and Performance
Finding vegan trainers that look great, feel comfortable, and perform reliably often feels like a compromise. With so many material claims, fit variations, and performance specs across the high street and online, how do you choose a pair that genuinely meets your needs?
This guide breaks the decision into ten practical checks, covering certified vegan materials, activity match, fit, support and cushioning, outsole grip, breathability, weight and responsiveness, style, supply chain transparency, and care and end-of-life options. Work through each check to match your trainers to how you move, what you wear, and the ethical standards you uphold, and to identify a pair that balances style, comfort, and performance.

1. Choose certified vegan materials for durable, ethical trainers
Start by verifying any third-party vegan certification and confirm its scope. Look for a vegan logo on the product page or label, or ask the retailer to produce the certificate. Confirm the certificate covers the whole trainer, including adhesives, linings, and trims, not just the upper. Ask specifically about hidden animal ingredients in adhesives, dyes, foams, insoles, and finishes; common examples include casein, glycerine, and dyes processed with bone char. When unsure, request a material breakdown or a safety data sheet. Match material to your intended use. Recognise common vegan options such as microfibre leathers, plant-based leathers, recycled synthetics, canvas, and knitted textiles. Prioritise breathability for everyday sneakers and trainers, water resistance for wet conditions, abrasion resistance for long walks, and flexibility for training or high-intensity sessions, including when you choose high tops.
Vegan certification is a starting point, not a guarantee of sustainability. Also check for recycled content, renewable feedstocks, transparent manufacturing information, and evidence of repairability. Assess construction and durability by favouring stitched or reinforced sole joins over purely glued assemblies, inspecting high-wear areas for extra reinforcement, and requesting abrasion or wear-test data. Do an in-store flex and visual check, or study detailed online images. These steps reveal how materials will age and whether a trainer or sneaker’s build matches your performance needs.
Choose durable, vegan bio-leather runners for breathable everyday performance

2. Choose the right trainers for walking, running, and gym sessions
Choose trainers that suit the movement. Start by listing the primary demands of your activity, then choose design features that meet them: - Running: favour cushioning that absorbs impact, a responsive midsole that returns energy, and an appropriate heel-to-toe drop that suits your stride. - Weight training: prioritise a flat, wide sole and a firm midsole for stability under load. - Court work or HIIT: look for pronounced lateral support and a grippy outsole to handle quick direction changes. - Walking or commuting: prefer a flexible forefoot for natural push-off and breathable uppers to manage heat and moisture. Assess sole performance for the surfaces you use most by comparing tread pattern and rubber compound. Choose deeper lugs and a stiffer rock plate for uneven ground and trails, and a smoother, stickier rubber for hard, urban surfaces. In-store or at home, simulate your routine: change direction, accelerate, and brake to judge grip and watch for slip or bogging. These practical tests will reveal how a sneaker or trainer will perform in real use.
Check stability and support where side-to-side forces matter: look for a broad midfoot platform, a firm heel counter, and secure lacing. Test with quick side shuffles or a lateral hop to confirm the trainer controls roll and limits heel lift. Dial in fit for the activity and any inserts by allowing extra toe room for long runs or hikes to accommodate swelling, and by ensuring a locked heel for sprinting or court sports to reduce blister risk. Confirm the shoe bends at the ball of the foot rather than at the midsole, and try your usual liner or orthotic to verify compatibility. Match upper materials to climate and durability needs: choose engineered mesh for high-sweat use, or reinforced, water-resistant synthetics with durable overlays for abrasive or wet conditions. Inspect stitching, and press the upper to feel its stretch, structure, and likely long-term abrasion resistance.
Go lightweight and responsive for secure, faster movement

3. Find your true fit for trainers: measure, compare, choose
Measure both feet while standing on a flat surface. Mark the heel and the longest toe, and use the larger measurement so natural asymmetry does not leave one trainer too tight. Try trainers wearing the foot coverings you would normally use, and any insoles you plan to wear. Lace them as you would for the intended activity, then stand and walk several paces. Check for about a thumb's width of space in front of the longest toe, the absence of hot spots, and minimal heel lift when moving. Bend the shoe at the ball of the foot to ensure the bend point matches your natural hinge, and press the upper to judge whether the material will stretch, mould, or remain rigid so you can allow the right amount of room.
Remove the insole and stand on it to see where your foot contacts the footbed. That contact pattern reveals your arch alignment and whether an orthotic will sit without crowding the toe box. Use those marks to judge internal volume and support, because a low-volume trainer can pinch an orthotic even when the length feels correct. Match the fit to the activity and to any changes in your foot: allow extra toe room for forward motion to reduce nail trauma, and favour a locked midfoot and firm heel for lateral stability. Leave a little extra internal volume to accommodate natural swelling during prolonged use so comfort and performance remain consistent.
Delivers secure, responsive fit for all-day movement.

4. Prioritise support, cushioning, and stability in your trainers
Assess your foot type and gait before choosing trainers or sneakers. Check wear patterns on your soles or do a wet test to spot neutral, overpronation, or supination tendencies — for example, inside-edge wear often indicates overpronation, while outside-edge wear suggests supination. If you want greater certainty, get a gait assessment from a clinician or specialist at a running shop. Overpronation typically benefits from added medial support, whereas neutral feet usually favour cushioning and flexibility. Look past marketing claims and inspect the midsole itself. Note foam density, whether the midsole uses layered construction, and whether it includes a stabilising plate; these features influence impact absorption and injury protection. Test responsiveness by pressing the midsole with your thumb to feel compression, then walk a few steps to judge rebound. Denser or layered foams tend to absorb more impact and feel firmer, while lighter, more responsive foams return energy and feel springier underfoot.
Squeeze the heel counter to check rear-foot rigidity, twist the trainer to gauge torsional stiffness, and confirm whether the insole is removable to accept custom orthotics. Match cushioning and stack height to your activities and to your proprioception, your foot’s sense of position: higher, softer stacks reduce peak forces but dull ground feel, while lower, firmer platforms improve stability during lateral movement. Validate fit with dynamic trials wearing the same thin liners or insoles you plan to use — walk and jog, then try a short lateral shuffle and a small hop. Aim for minimal heel slip, a locked-in midfoot, and slight toe splay, because even tiny heel movement or toe compression predicts discomfort and reduced performance.
Pick a lightweight, responsive trainer for secure, springy steps.

5. Assess your trainers' outsole grip and long-term durability
Match the tread pattern to how you will use the trainers. Shallow, continuous ribs or siped patterns work best for road and gym use by maximising the contact patch and wet traction. Deeper, multi-directional lugs with wider spacing shed mud and bite into loose ground. Check the rubber compound and construction: denser, carbon-variant rubbers or full-length rubber layers resist abrasion on hard surfaces, while blown or softer compounds improve cushioning and initial grip but will wear faster. Seek abrasion-testing results and detailed compound descriptions in specs and independent reviews so you choose based on evidence rather than marketing language.
Use these focused checks to assess an outsole's durability and grip. 1. Inspect high-wear zones and flex behaviour. Look for thicker rubber under the heel and forefoot, reinforced toe bumpers, and well-placed flex grooves. These features help the sole maintain traction when it bends. 2. Check the sole-to-upper junction. Scan for even adhesive lines, reinforced stitching, or visible rubber overlap. Thin sole edges or uneven adhesion often precede separation. 3. Verify real-world performance. Press the sole to judge hardness, study user photos of worn soles to spot wear patterns, and read reports from people who used the trainers on the surfaces you expect to meet, such as wet tile, tarmac, and muddy trails. Together, these checks provide tangible evidence to predict how long an outsole will last, and how reliably it will grip in the conditions you plan to use it.
Slip into breathable fleece for post-run recovery.

6. Prioritise breathability to control moisture and maintain comfort
When choosing trainers or sneakers, pick open, engineered mesh or knitted uppers with visible perforations and a looser weave across the toe box and vamp. Larger pore size and lower yarn density increase air permeability and help heat and moisture escape, so hold the trainer up to a light or gently blow into the heel to check airflow. Favour linings labelled moisture-wicking or antimicrobial, and removable, perforated insoles made from plant-based foam, cork, or breathable synthetic foams. Removable insoles let you dry or replace them, reducing retained moisture and odour over time.
Recognise that waterproof membranes block liquid ingress but also reduce vapour transfer, which raises in-shoe humidity during high-intensity activity. For hot workouts, choose highly ventilated, non-membrane trainers; keep a separate waterproof pair for wet conditions. Look for vented midsoles, outsole grooves, and footbed channels that create continuous airflow from toe to heel, because those structural pathways move moisture away during movement. Check toe box room and tongue thickness, since cramped toe boxes and thick, unvented tongues trap heat and increase blister risk. Try trainers with the same foot coverings you plan to wear and walk briskly for a few minutes to test fit and breathability. Rotate between at least two pairs so each can dry fully, air fabric uppers after use, follow the manufacturer's care instructions, and replace insoles when they remain damp or develop an odour.
Change into sweats while trainers air out and dry.

7. Evaluate trainers' weight, flexibility, and responsiveness for comfort and performance
Judge weight by picking the trainer up, then walk several strides while comparing perceived effort to another trainer. Lighter mass usually lowers energy cost over repeated strides, which can improve cadence and reduce fatigue, but it often comes with thinner cushioning. Match weight to your intended activity and recovery needs. Test flexibility by bending the trainer at the ball of the foot, twisting the forefoot relative to the heel, and checking where the shoe naturally bends. A bend at the metatarsal heads aids toe-off for running and dynamic gym moves, while a stiffer forefoot or a bend closer to the toes suggests greater stability for heavy lifts and long-distance pacing.
Test responsiveness in real conditions by performing a few single-leg hops, light accelerations, and quick changes of direction in your trainers or sneakers, and note how quickly the sole rebounds and returns energy. Examine midsole construction and visible features, such as a firm heel plug or an embedded plate, which often correlate with faster rebound and reduced ground contact time. Weigh the trade-offs: lighter midsoles can sacrifice cushioning and long-term durability, greater flexibility helps natural foot motion but may lessen lateral support, and high-rebound materials boost efficiency while sometimes feeling firmer on impact. Press the midsole to check foam recovery, inspect outsole rubber in high-wear zones for thickness and tread pattern, and consider whether a supportive heel counter or torsion element compensates for a very flexible forefoot. Finish with a short run or varied movements to see how weight, flexibility, and responsiveness combine for your intended use, whether sprinting, gym circuits, or everyday walking.
Choose a lightweight, high-rebound trainer for faster, fresher strides

8. Match your trainers' style and colour to your wardrobe
Before you shop, lay out your favourite tops, trousers, and coats. Identify three dominant colours and two recurring styles — this makes it easier to choose trainers that either slot into your palette or create a deliberate contrast. Match the trainer silhouette to your typical outfits: opt for sleeker, low-profile shapes with tailored trousers and smart-casual looks, and pick chunkier, sportier silhouettes for jeans and athleisure so the shoe feels appropriate for the occasion. Treat material and texture as part of the outfit. Matte vegan leather or smooth faux suede will smarten an ensemble, while knit or mesh reads casual or performance-led. Mix textures to add visual interest, or mirror them across shoe and clothing to create cohesion.
Be strategic with accent colours and tonal play. Choose trainers with small colour pops that echo an accessory, or go tonal to elongate the leg and simplify coordination. Test pairings by photographing outfits in natural light—photos reveal how tones read across materials and movement. Plan for versatility: keep one neutral, easy-to-match pair for everyday wear, and one statement pair for variety. Think practically about wear and care: pick hues that hide scuffs given your lifestyle, or that suit your cleaning routine so outfits look deliberate with minimal fuss.
Pair with sleek vegan sneakers for refined everyday versatility

9. Demand transparency in manufacturing and ethical sourcing
Begin by asking for concrete documents: supplier lists or regions of manufacture, factory locations and photos, audit summaries, and a breakdown of material origins. Use a short, specific question such as: 'Which suppliers make this style, where are they located, can you share the latest social audit summary, and what percentage of materials are from certified sources?' Responses that include supplier names, audit dates, corrective actions, and material percentages show substance; replies that say 'trusted partners' or 'varies by season' signal vagueness. Also request evidence that policies translate into practice: living wage commitments, documented grievance mechanisms, anonymised worker interviews or photos, and proof of worker representation.
Confirm third-party claims using independent audits, recognised material certifications, and social compliance labels. Read public audit reports for non-compliance findings, corrective-action plans, and proof of follow-up audits or remediation timelines. Cross-check company responses against public import records, NGO reporting databases, and supply-chain mapping tools. Two practical search tactics: query customs and import databases for supplier and shipment entries, and compare listed factory addresses with satellite imagery or street-level maps to confirm facility footprint and signage. Watch for red flags such as opaque supplier lists, vague marketing language, or inconsistent remediation timelines. Give greater weight to concrete signals: documented improvement schedules, independent follow-up audits, and transparent remediation records.
Choose certified materials and traceable manufacturing.

10. Plan care, repair, and end-of-life options for your trainers
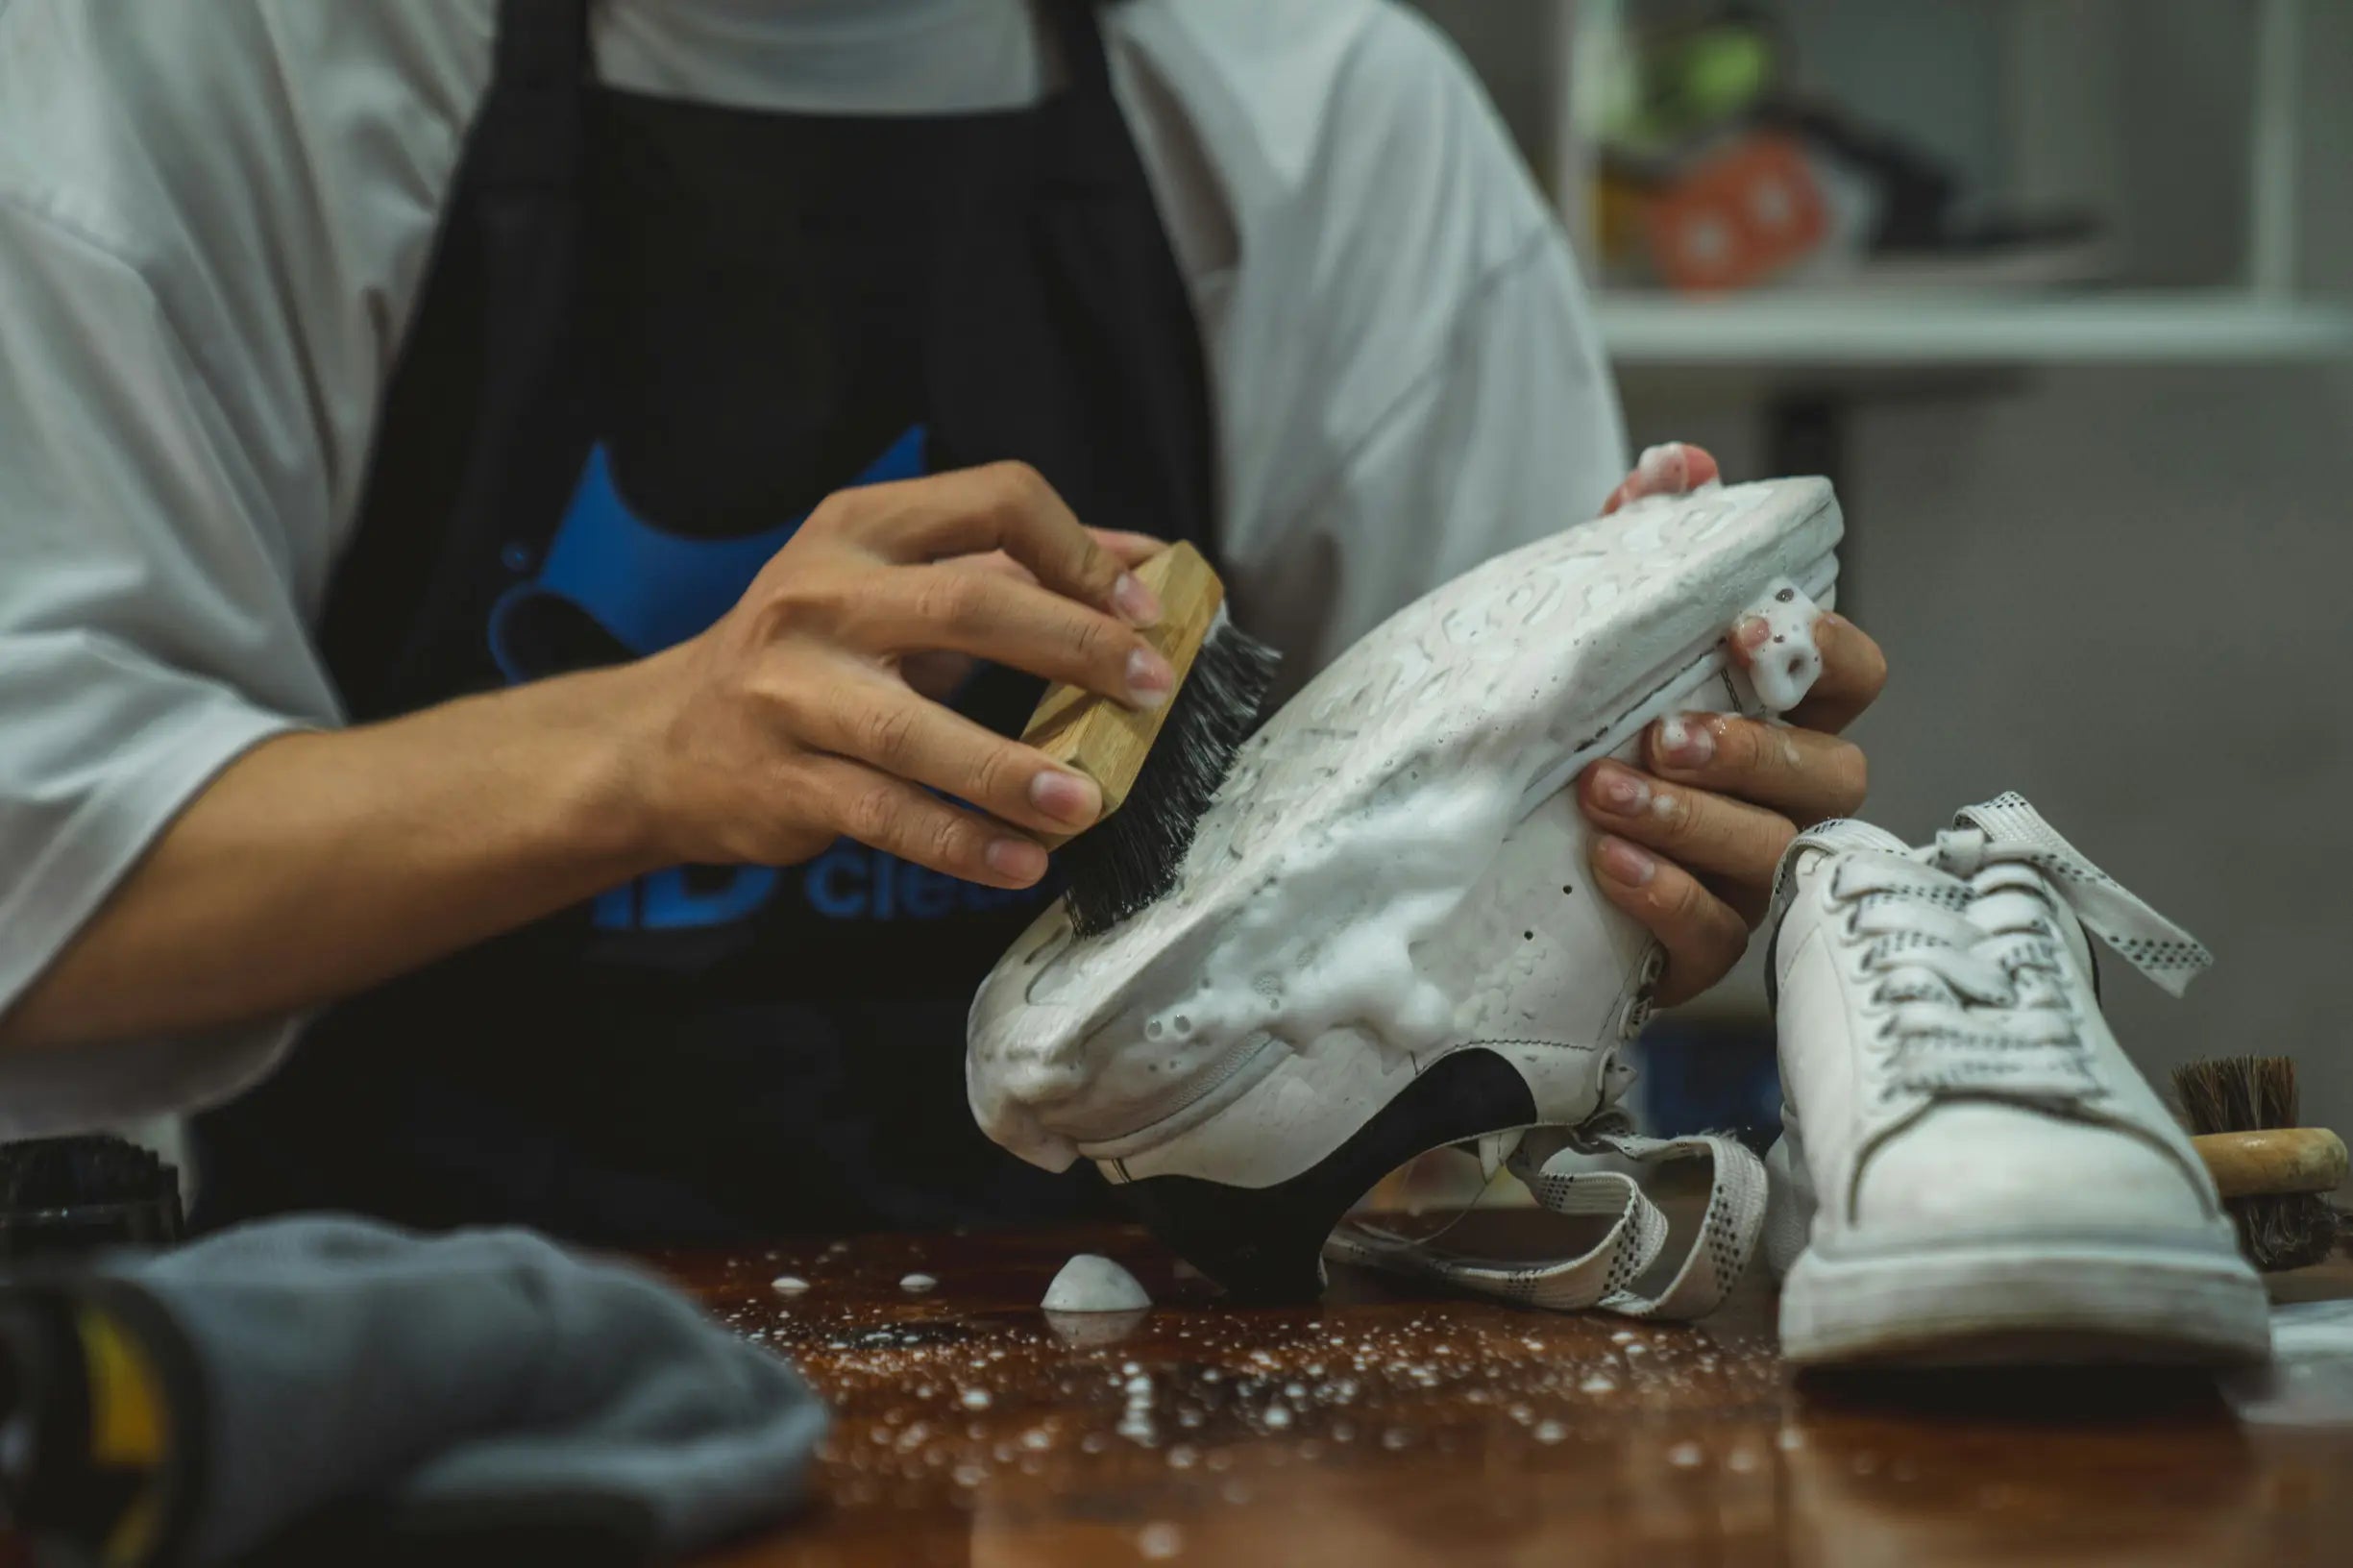
Before cleaning trainers, identify the upper material and spot-test any cleaner on an inconspicuous area. Remove insoles and laces, then use a soft brush or cloth with a mild detergent or a gentle synthetic cleaner. Air dry away from direct heat to prevent warping, trapped moisture, and odour. Adopt a simple maintenance routine: rotate between pairs, brush off dirt after use, and insert lightweight shoe trees or stuffing to retain shape and reduce creasing and sole deformation. Keep original insoles and any hardware, which can make future repairs easier. Learn a few basic cobbling fixes: re-glue loose parts with a flexible, vegan-friendly adhesive, stitch split seams, or have soles replaced. Stitched repairs and resoling generally restore function longer than surface-only fixes, so prioritise structural repairs when possible.
Plan for end-of-life before you buy. Check materials and construction, favour mono-material designs and removable parts that make recycling or repurposing easier. If trainers or sneakers remain wearable, donate them or separate recyclable components for collection. For unusable pairs, send them to textile recycling schemes, or repurpose fabrics into household items. Keep a record of care and repairs, retain warranty and purchase information, and photograph any damage to support accurate repair quotes or claims. At the point of purchase, ask retailers about repair, take-back, and recycling programmes so you have clear, actionable options when your trainers reach the end of their usable life.
Choose vegan trainers that balance style, comfort, and performance by checking five things: materials, intended activity, construction, fit, and end-of-life options. Look for concrete evidence, such as whole-product vegan certification, a clear material breakdown, midsole and outsole test results, fit and gait trial data, and transparent supplier information, so you can predict how a shoe will perform and last.
Run through this ten-point checklist in order: materials, activity match, fit, support and cushioning, outsole grip, breathability, responsiveness, style, transparency, and care. Consult it when you try on, maintain, or replace trainers so every decision supports your activity, complements how you dress, and aligns with your ethical values.