Top 10 Tools and Tips for Cleaning Insulated Bottles and Lids
Are your trainers starting to show signs of wear or developing an unpleasant odour in those hard-to-reach areas? Hidden seams, linings, and narrow crevices can trap residue and moisture, leading to build-up and reduced comfort over time.
This guide helps you assess sustainable materials and understand care labels, offering step-by-step advice for keeping trainers in prime condition. Explore practical ways to clean, dry, and inspect your footwear, using household tools to reach even the trickiest spots, from the sole to the tongue. Discover how to maintain hygiene, remove stains, and make eco-conscious choices when it's time for your trainers' next chapter—so you can move boldly and tread lightly, every step of the way.

1. Check Sustainable Materials Before Cleaning for Safety
When caring for products made from a blend of modern materials, it's important to recognise how each component responds to cleaning. Materials such as vegan leathers, ethical textiles, and recycled rubbers each have their own care requirements. Examine any removable elements carefully, ensuring you keep track of their fit for reassembly. Take time to check seams, fastenings, and inner linings for any build-up or damage. If you spot worn-out seals or gaskets, it’s best to replace them rather than continue with compromised fittings, supporting durability and long-term use. Opt for gentle, eco-friendly cleaning methods to protect both your items and the environment.
Inspect your item for any embossed symbols or markings that suggest suitability for specific uses, such as recycling or care instructions. If there are no visible labels, test a discreet area gently with a mild cleaner and a soft brush, observing for any colour change or surface wear. Pay close attention to how your piece is constructed: robust, seamless stainless steel handles regular cleaning better than delicate painted finishes, while vacuum-insulated joins or glued sections may be vulnerable if handled roughly. Treat coated surfaces and junctions with particular care to maintain performance and appearance, steering clear of harsh tools that could damage seals or strip coatings. Select cleaning tools that suit both the design and materials—use soft-bristled or flexible brushes for tight spaces, and reserve abrasive pads or strong cleaners solely for uncoated, solid steel, and only once you are sure the finish will remain intact.
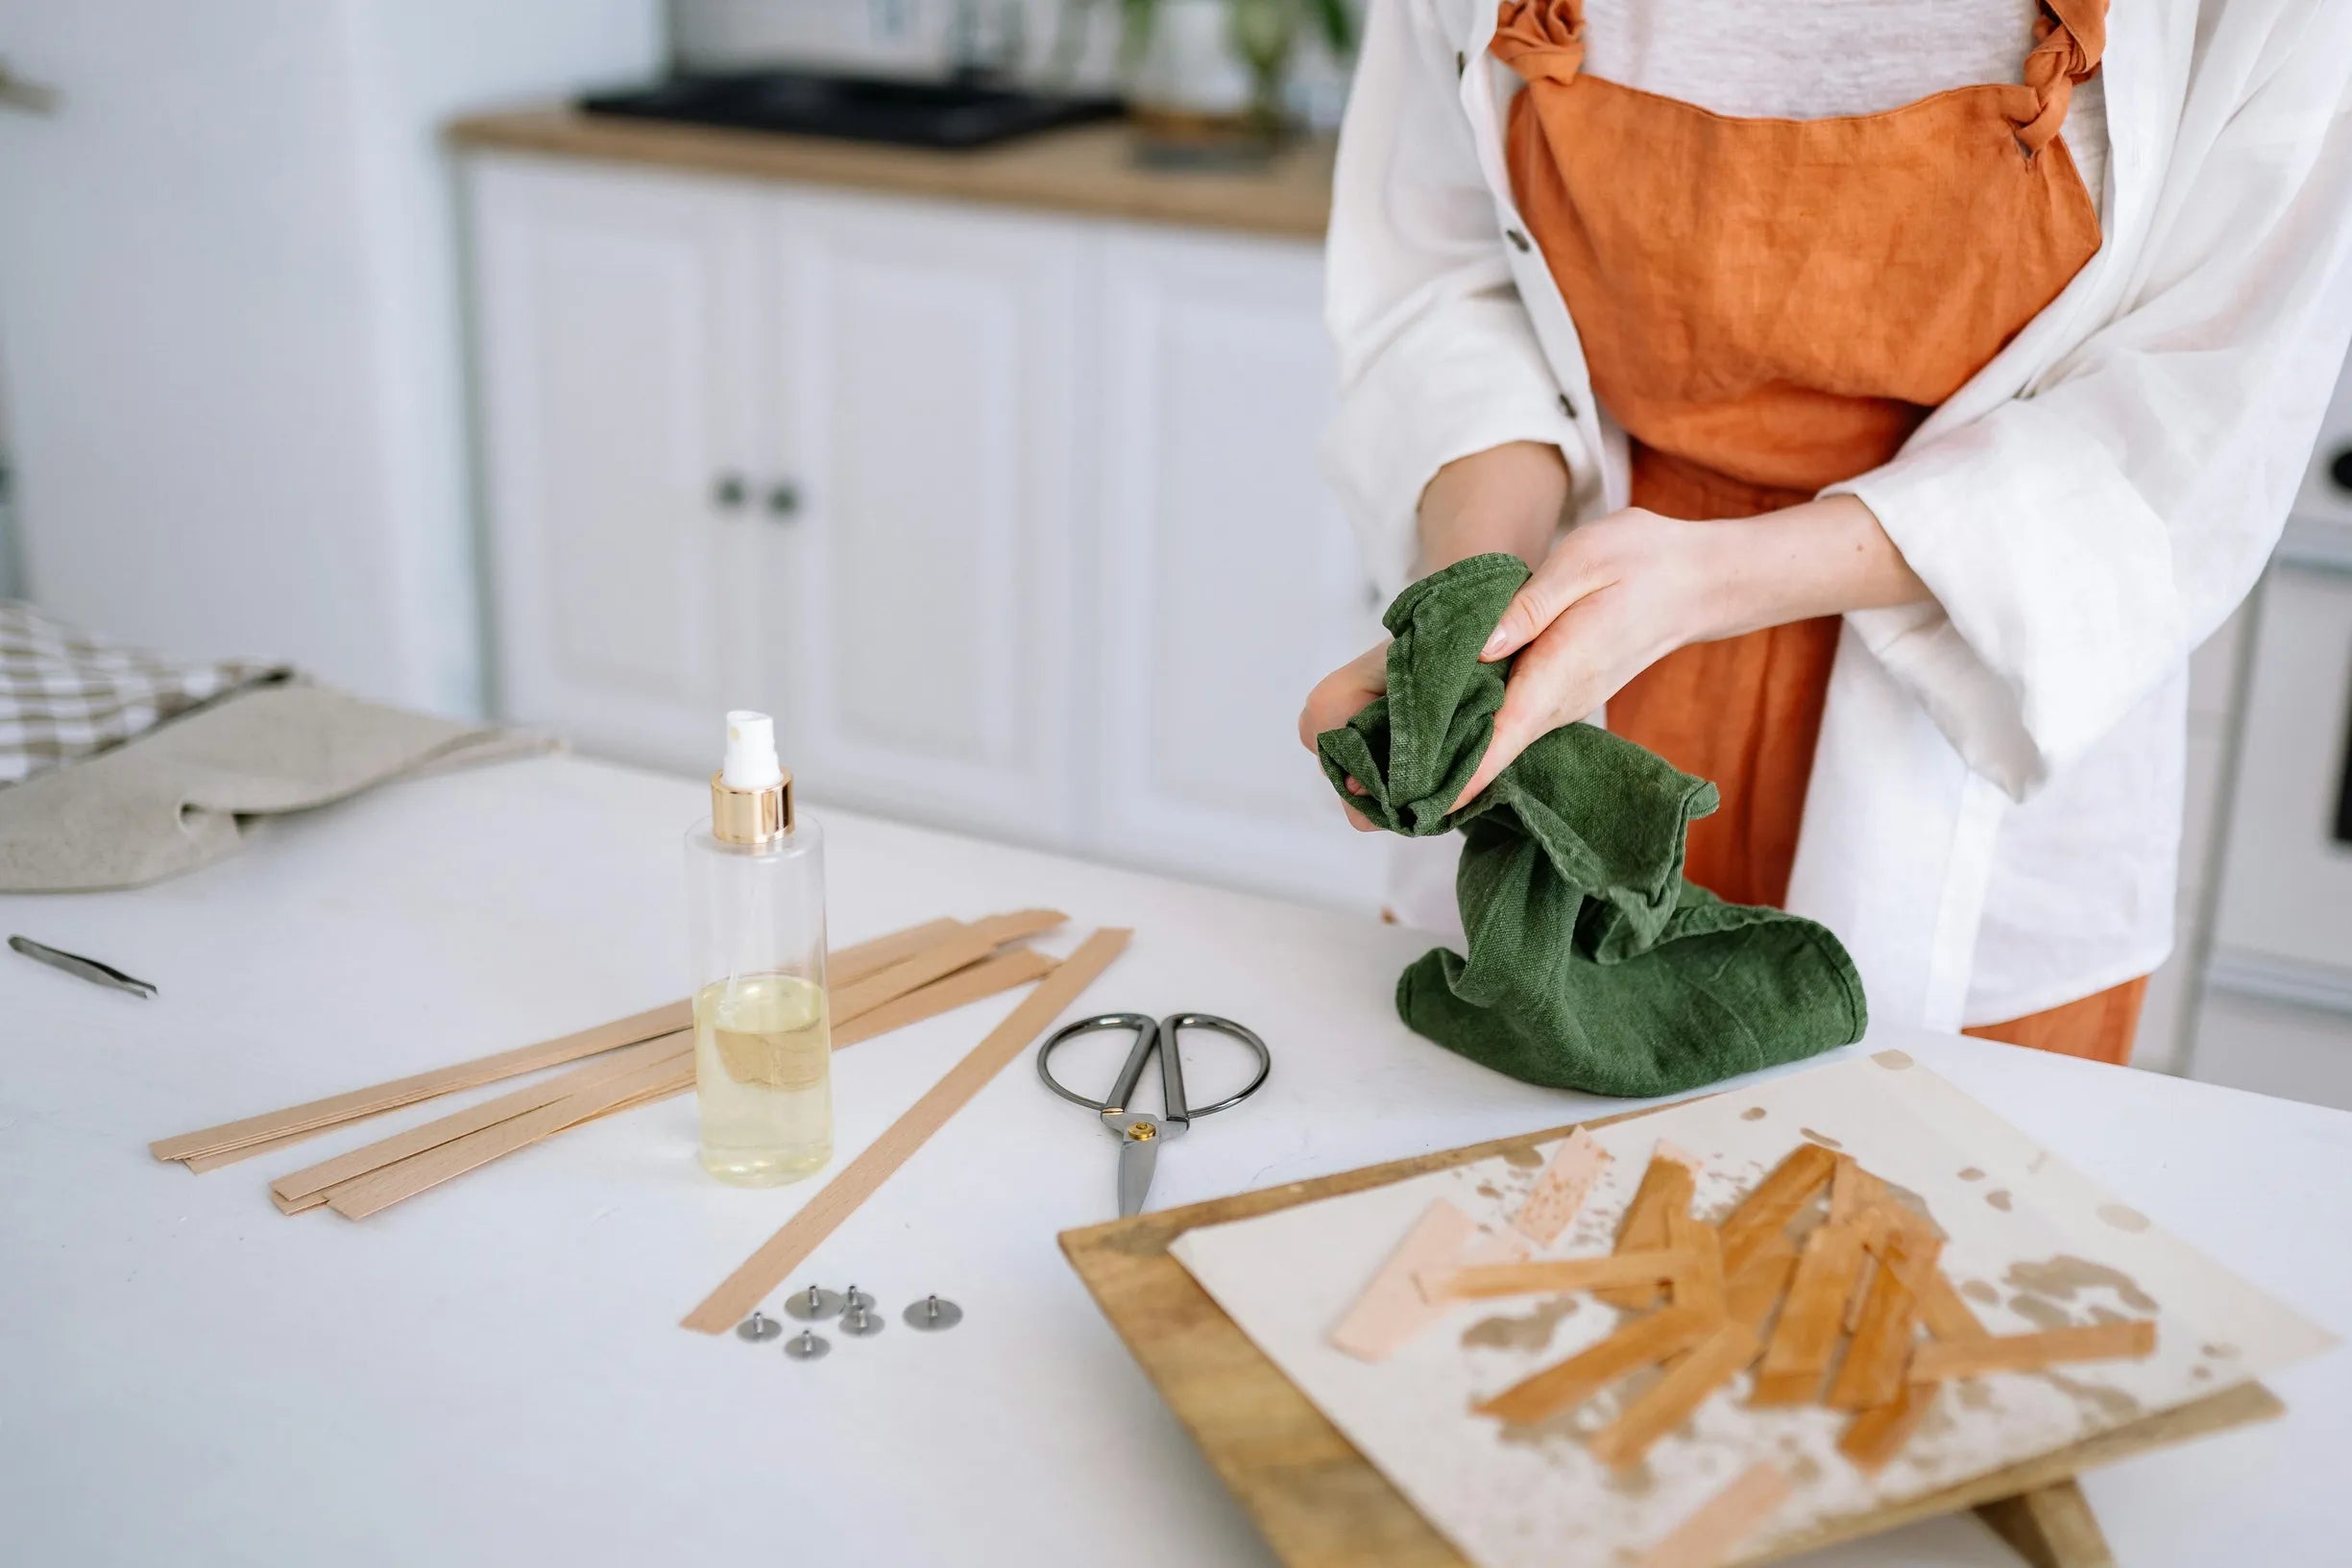
Use a biodegradable cloth-and-brush set for gentle cleaning.

2. Review care instructions for your trainers and materials
For sustainable footwear and fashion accessories, care begins with a close look at the product label or any guidance leaflet for details such as appropriate cleaning methods, recommended temperatures, or cycle restrictions. If no explicit care instructions are provided, opt for gentle hand washing to preserve the integrity of materials and construction. Before cleaning, disassemble any removable components, such as insoles or laces, to ensure all areas are treated with care. Use mild detergents and avoid harsh chemicals. Air dry items naturally, away from direct heat sources, to maintain their shape and prolong their lifespan. Mindful care not only protects your wardrobe staples but also champions a more sustainable approach to fashion.
Alkaline dishwasher detergents and rinse aids often risk dulling polished finishes, stripping protective layers, and accelerating corrosion or odour retention in plastics. For cherished finishes or persistent smells, hand washing with a mild detergent and a soft brush is the responsible choice. If you're unsure about material compatibility, run a single test cycle with the item on its own, then check for warping, altered threads, weakened seals, or new odours. Any sign of change means it's wise to opt for manual cleaning in future, safeguarding the component and ensuring all parts remain intact and fitting securely before reassembly.
Choose a gentle, eco cleaning kit to protect sneakers.

3. Choose Sustainable Cleaning Essentials for Your Home
For a conscious approach to cleaning, start with warm water, a mild washing-up liquid, white vinegar, and bicarbonate of soda. Soap helps break down grease, vinegar can tackle mineral deposits and refresh surfaces, and bicarbonate acts as a gentle abrasive and natural deodoriser. Always use dilute solutions and rinse thoroughly. Never mix vinegar with any products containing bleach. For persistent build-up like tannins or limescale, soak removable components in a sealed tub with a dilute vinegar solution or an effervescent cleaning tablet before giving them a thorough scrub. This mindful method supports a cleaner home and a lighter environmental footprint.
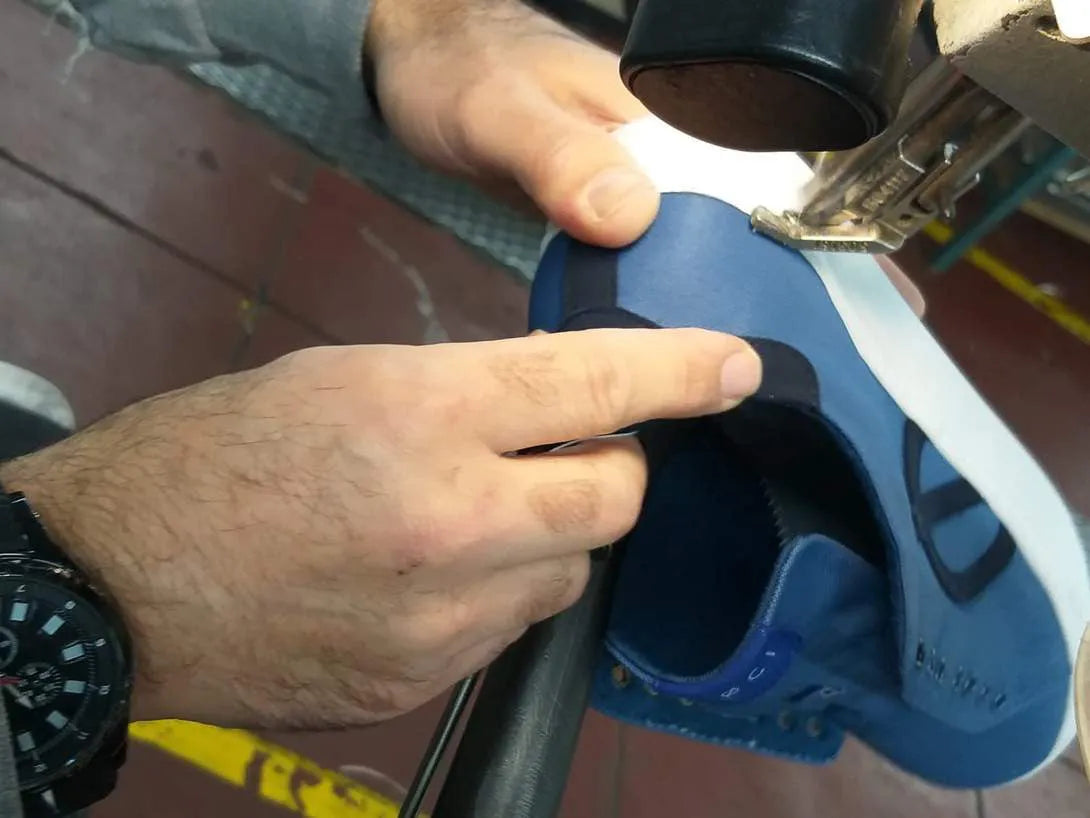
Choose a selection of cleaning tools suited for trainers and accessories: opt for soft-bristled brushes, a gentle toothbrush, and a slim angled brush for those hard-to-reach spots. Select softer bristles to protect materials and replace brushes when they become worn. For tighter seams or channels, use an interdental brush, cotton bud, or wooden pick, dampened with soapy water or a vinegar solution to loosen stubborn grime. After cleaning, thoroughly dry each part with a clean microfibre cloth or place on a drying rack. Examine linings and seams using a small torch or inspection mirror to spot any hidden debris. Keep extra laces or insoles handy, as moisture build-up can encourage mould, and worn components reduce comfort and performance. This approach keeps your trainers fresh, extending their life while treading lightly on the planet.
Refresh and protect trainers with an eco-friendly cleaning kit
![{"image_loaded": true, "load_issue": null, "description": "An older man with gray hair is standing at a kitchen counter. He is wearing a maroon jacket over a dark shirt. The man is pouring a dark liquid from a bottle into a glass placed on a wooden tray on the counter. The kitchen has white cabinets and a black countertop with a stainless steel faucet and a small green plant near the sink.", "people": {"count": 1, "roles": ["adult male"], "visible_demographics": "older adult male, light skin tone", "attire"](https://cdn.shopify.com/s/files/1/0416/7663/6312/files/image_loaded_true_load_issue_null_description_an_older_man_with_gray_hair_is_standing_at_a_kitchen_counter_he_is_wearing_a_maroon_jacket_over_a_dark_shirt_the_man_is_pouring_a_dark_li.webp?v=1772007063)
4. Freshen Up Interiors and Hard-to-Reach Spaces
For hard-to-reach spaces within reusable drinkware, a long, narrow cleaning brush works well for the main cavity, while a slim, flexible brush can reach into smaller crevices and dual openings. Insert the brush from each access point, twisting gently and pulling through to lift away trapped residue, then rinse thoroughly. To address stains and neutralise odours, create a paste using bicarbonate of soda and water. Work this mixture into stubborn areas with the brush, ensure debris is swilled away, and rinse until clear. To dissolve mineral scale, tea, or coffee build-up, swill with diluted white vinegar by pouring it into the vessel and agitating through both openings until deposits loosen. Rinse repeatedly to remove any vinegar aroma. This approach helps keep your reusable drinkware fresh and ready for your next outing.
For awkward corners or stubborn marks, try adding warm, soapy water with a handful of uncooked rice, sealing the openings, and giving it a good shake to loosen any build-up. Take care not to use this method on items with delicate internal coatings, and always refer to the care instructions if you are unsure. Once clean, check for less obvious issues: signs like fogging between layers, a loose internal sound, or a noticeable drop in heat retention can mean the vacuum seal is compromised. If the vacuum is broken, it is not possible to clean the internal cavities thoroughly—opting to recycle or responsibly replace the item is the most sustainable choice.
Choose a double-opening, dishwasher-safe bottle for easier cleaning.

5. Pay close attention to hidden areas for a thorough clean
Start by taking apart any removable lids and separating seals or gaskets if possible. Give each piece a thorough once-over to check for wear or damage, then ensure everything is dry before reassembling. To tackle debris caught in narrow spaces, use a soft brush or similar tool, gently working through each nook until it's clean. For stubborn marks, try a simple paste of bicarbonate of soda and water, or use diluted white vinegar to address lingering odours. Work these solutions into crevices with a soft brush or cotton bud, finishing with a careful rinse to ensure every surface is fresh and ready for use.
When cleaning, opt for gentle tools and techniques. For instance, wrap a wooden skewer in a lint-free cloth to lift stubborn marks without risking scratches. Use a burst of air or carefully blow through narrow areas to dislodge debris, and always pat items dry to prevent moisture from lingering. To help your gear last longer, flex silicone seals to clear hidden corners, move valves to flush out water, and store lids upside down to allow proper drainage. Regularly check seals for flexibility and fit, replacing any that show wear to keep everything reliably watertight. These straightforward steps help maintain performance and extend the life of your essentials.
Clean seals and crevices with a gentle cleaning kit.

6. Tackle narrow spaces and hard-to-reach crevices with ease
Where possible, remove seals and separate lid components, then clean each piece in warm, soapy water with a soft brush, focusing on crevices to help prevent build-up. Rinse all parts thoroughly and allow them to air dry flat, ensuring no moisture is trapped. For narrow spaces, consider using a flexible, narrow cleaning brush to reach around bends and dislodge residue before flushing with water. For intricate areas like hinge pins or channels, gently use a lint-free cloth wrapped around a wooden pick or a cotton bud dipped in mild detergent or white vinegar. Avoid using metal tools that could damage finishes or seals.
A bicarbonate of soda paste offers gentle cleaning power and helps neutralise unwanted odours on tougher marks. Apply with a narrow brush or cotton bud, then rinse thoroughly. For intricate details, use a torch or magnifier to check for hidden debris, as moisture and dirt often gather in seams and edges. Allow all parts to dry fully before putting them back together to discourage mould growth. Always check that the materials are in good condition and seals remain effective. If you notice cracks, flattening, or persistent odours, consider replacing those parts to maintain hygiene and function.
Use this kit for gentle, effective part-by-part cleaning.
![{"image_loaded": true, "load_issue": null, "description": "The image shows a bathroom sink area with a tiled wall in the background. A person's hand is visible holding a clear resealable plastic bag containing two small white sachets. The sink is light pink with a gold-colored faucet. Several dark brown bottles and a pink hairbrush are placed near the sink. There is also a glass of water with a slice of lemon in the foreground, partially out of focus.", "people": {"count": 1, "roles": ["user"], "visible_dem](https://cdn.shopify.com/s/files/1/0416/7663/6312/files/image_loaded_true_load_issue_null_description_the_image_shows_a_bathroom_sink_area_with_a_tiled_wall_in_the_background_a_person_s_hand_is_visible_holding_a_clear_resealable_plastic_ba.webp?v=1772007077)
7. Keep Trainers Fresh: Sanitise, Remove Odours, and Tackle Stains Responsibly
Begin by taking apart seals, lids, and any removable components, then inspect and photograph smaller pieces to ensure you can put everything back together smoothly and spot any hidden build-up. Use a soft toothbrush, a slim cleaning brush, or a syringe to loosen and flush out trapped liquid from channels, allowing cleaning agents to reach every micro-crevice. This process helps reduce microbial build-up, making sure every corner is reached and persistent stains or odours are addressed.
Tackle stubborn stains and lingering odours with simple, effective methods. For gentle scrubbing, create a paste using bicarbonate of soda, which acts as a mild abrasive and helps neutralise smells. To shift mineral scale or tea and coffee marks, use a solution of diluted vinegar or lemon juice. For persistent organic stains, opt for an oxygen-based bleach, ensuring it's suitable for your materials and always ventilate the area as you clean. After any treatment, rinse thoroughly to remove all residues, then dry completely with lids off. To keep odours at bay, pop a small pouch of activated charcoal, a spoonful of bicarbonate, or a clean paper towel inside. If seals or gaskets remain stained or continue to smell, consider replacing them, as worn parts can harbour bacteria despite thorough cleaning.
Use a gentle cleaning kit to reach every crevice

8. Dry fully, store with care, and safeguard against mould
Keeping accessories and everyday essentials fresh and ready for use is a small act of care that reflects a conscious lifestyle. After every use, ensure all pieces are separated and wiped dry with a clean, lint-free cloth. Allow items to air out naturally on an open rack, making sure air can circulate to every corner. For storage, favour well-ventilated spaces and avoid leaving traces of drinks or moisture inside to prevent unwanted odours. Replace any worn or damaged components promptly to maintain both function and hygiene. Simple, mindful routines like this echo a commitment to clean living and responsible choices—a step towards fostering sustainability in every detail of daily life.
Adopting mindful routines for the care of your everyday essentials is key to maintaining a lifestyle that values longevity and sustainability. Regular attention to detail ensures that the items you rely on continue to serve you well, reducing waste and encouraging conscious consumption. By fostering these habits, you champion a culture of care that aligns with a responsible and purposeful approach to living.
Opt for recycled‑blend fleece built to last.

9. Check your gear often and swap out tired parts for lasting performance
Begin each inspection by carefully removing gaskets and seals, examining them under good light for subtle cracks, thinning, tears, or any change in colour. Pay attention to any lingering odours, which may indicate issues cleaning did not resolve. Gently squeeze and stretch each seal to assess flexibility—a seal that no longer rebounds or feels sticky could compromise its fit. These simple checks, both tactile and visual, can reveal wear that might not be obvious when everything is assembled. Make them part of your mindful routine and take note of anything that might require a closer look.
To ensure the longevity and performance of your reusable cup, reassemble the lid with care and check for leaks by gently filling, inverting, and pressing the cup as you observe for any drips or signs of escaping air. Spotting leaks or a rapid escape of air often suggests a misaligned or compromised seal. When handling seals, lift them carefully using a soft implement or fingernail, and clean the channel thoroughly with a gentle brush and mild detergent. Allow all parts to dry completely—either with a cloth or in open air—before reinstating the seal evenly and in the correct position. Replace any seals showing lasting deformation, deep cuts, persistent stains, or odour even after cleaning. Store spare seals away from direct sunlight and heat, and avoid exposure to harsh chemicals or extreme washing temperatures to help maximise their lifespan and reduce unnecessary waste.
Stay comfortable while you inspect and maintain seals

10. Opt for eco-friendly cleaning and thoughtful disposal practices
Choose low-impact cleaning methods that favour both efficiency and environmental responsibility. Natural solutions like white vinegar help dissolve mineral deposits, while bicarbonate of soda can gently lift stubborn residues and neutralise odours. Use a soft-bristled brush for thorough cleaning, especially in hard-to-reach corners and seams—always rinsing well afterwards. Steer clear of chlorine-based bleaches, as these can compromise finishes and accelerate the breakdown of silicone components. Equip yourself with durable, reusable cleaning tools designed for specific tasks, ensuring they're cleaned and left to air-dry between uses to maintain hygiene and prevent cross-contamination. For sanitising, follow the care instructions: a flush with very hot water or a careful wipe with isopropyl alcohol can help reduce microbes. Always inspect components and any printed areas before applying heat or solvents to avoid unintentional damage.
Take ownership of your environmental impact by considering how to responsibly manage items at the end of their life. Separate materials for correct disposal: remove silicone gaskets for specialist recycling or creative reuse, take stainless steel parts to local metal recycling points, and bring mixed or composite items to household recycling centres that handle specialised waste. For items that still have life left in them, source replacement seals rather than discarding the whole. Community repair cafés and local tool libraries offer opportunities for swaps and repairs—perfect for those who value resourcefulness and collaboration. Enquire about high street charity shop donations for serviceable goods, or repurpose containers for storage or as planters if repair is not an option. Regular maintenance and timely part replacement keep items in use longer, helping to reduce waste and promote a culture of mindful consumption.
Keep sustainable trainers in top condition by using care methods suited to the materials. Remove laces and insoles for separate cleaning and use soft brushes or cloths for targeted upkeep. Regular checks, proper air drying, and prompt replacement of worn components help prevent odour and maintain performance, ensuring your footwear stands the test of time.
Use the step-by-step routines for cavity cleaning, lid detailing, straw and crevice access, sanitisation, and drying to tackle the trouble spots identified in this guide. Adopt those routines, keep spare gaskets, and inspect parts often to reduce waste, extend service life, and restore confidence in your drinkware.
