10 Ways to Keep Vegan Trainers Dry Without Damaging Them
Do you dodge wet weather with your favourite pair of vegan trainers because a single shower can mean stains, delamination or warped soles? Vegan trainers are made from materials ranging from faux leather and coated textiles to knitted synthetics, and each material responds differently to water, salt and abrasion.
A practical guide to mapping trainer materials and vulnerable areas, assessing weather and terrain risks, and selecting, spot‑testing and correctly applying protective sprays, creams or coatings. It also sets out step‑by‑step cleaning for wet trainers that avoids staining or warping, safe drying and reshaping methods, quick emergency fixes, simple repair techniques and a preventative storage routine to keep trainers looking and performing their best.

1. Map your trainers' materials and common weak spots
Start by breaking each trainer down into its component parts: the upper, toe box, vamp, tongue, eyelets, lining, insole, midsole, outsole and seams. Photograph every area and note whether joints are stitched, glued or heat-bonded, since those junctions often show the first signs of water ingress or adhesive failure. Identify the material used for each part and observe how water typically behaves: coated synthetics and faux leather tend to bead, woven canvas and knits wick and absorb, and open-cell foams trap moisture and dry slowly. Run three simple checks on an inconspicuous patch at home: place a single water droplet to watch beading versus absorption, flex the material to reveal cracking or delamination, and press the seams to test for brittle glue or loose stitching. Record the results for each pair and any treatments applied so you can compare performance later.
Photograph your trainers and map visible weak spots and wear patterns — thinning, fraying, loose threads, creasing at flex points, exposed foam at the collar, and separation where the upper meets the sole. Mark each area on your photo inventory so you can prioritise waterproofing, reinforcement or regular inspection. Match treatments to the material and to the care guidance, remembering that some sprays or heat processes can alter colour, reduce breathability or soften plant-based composites. Always test any protective method on an inconspicuous patch first and note whether it changes colour, texture or the way water behaves on the surface. Use those recorded observations to choose faster-drying or more durable options for zones that absorb or retain moisture.
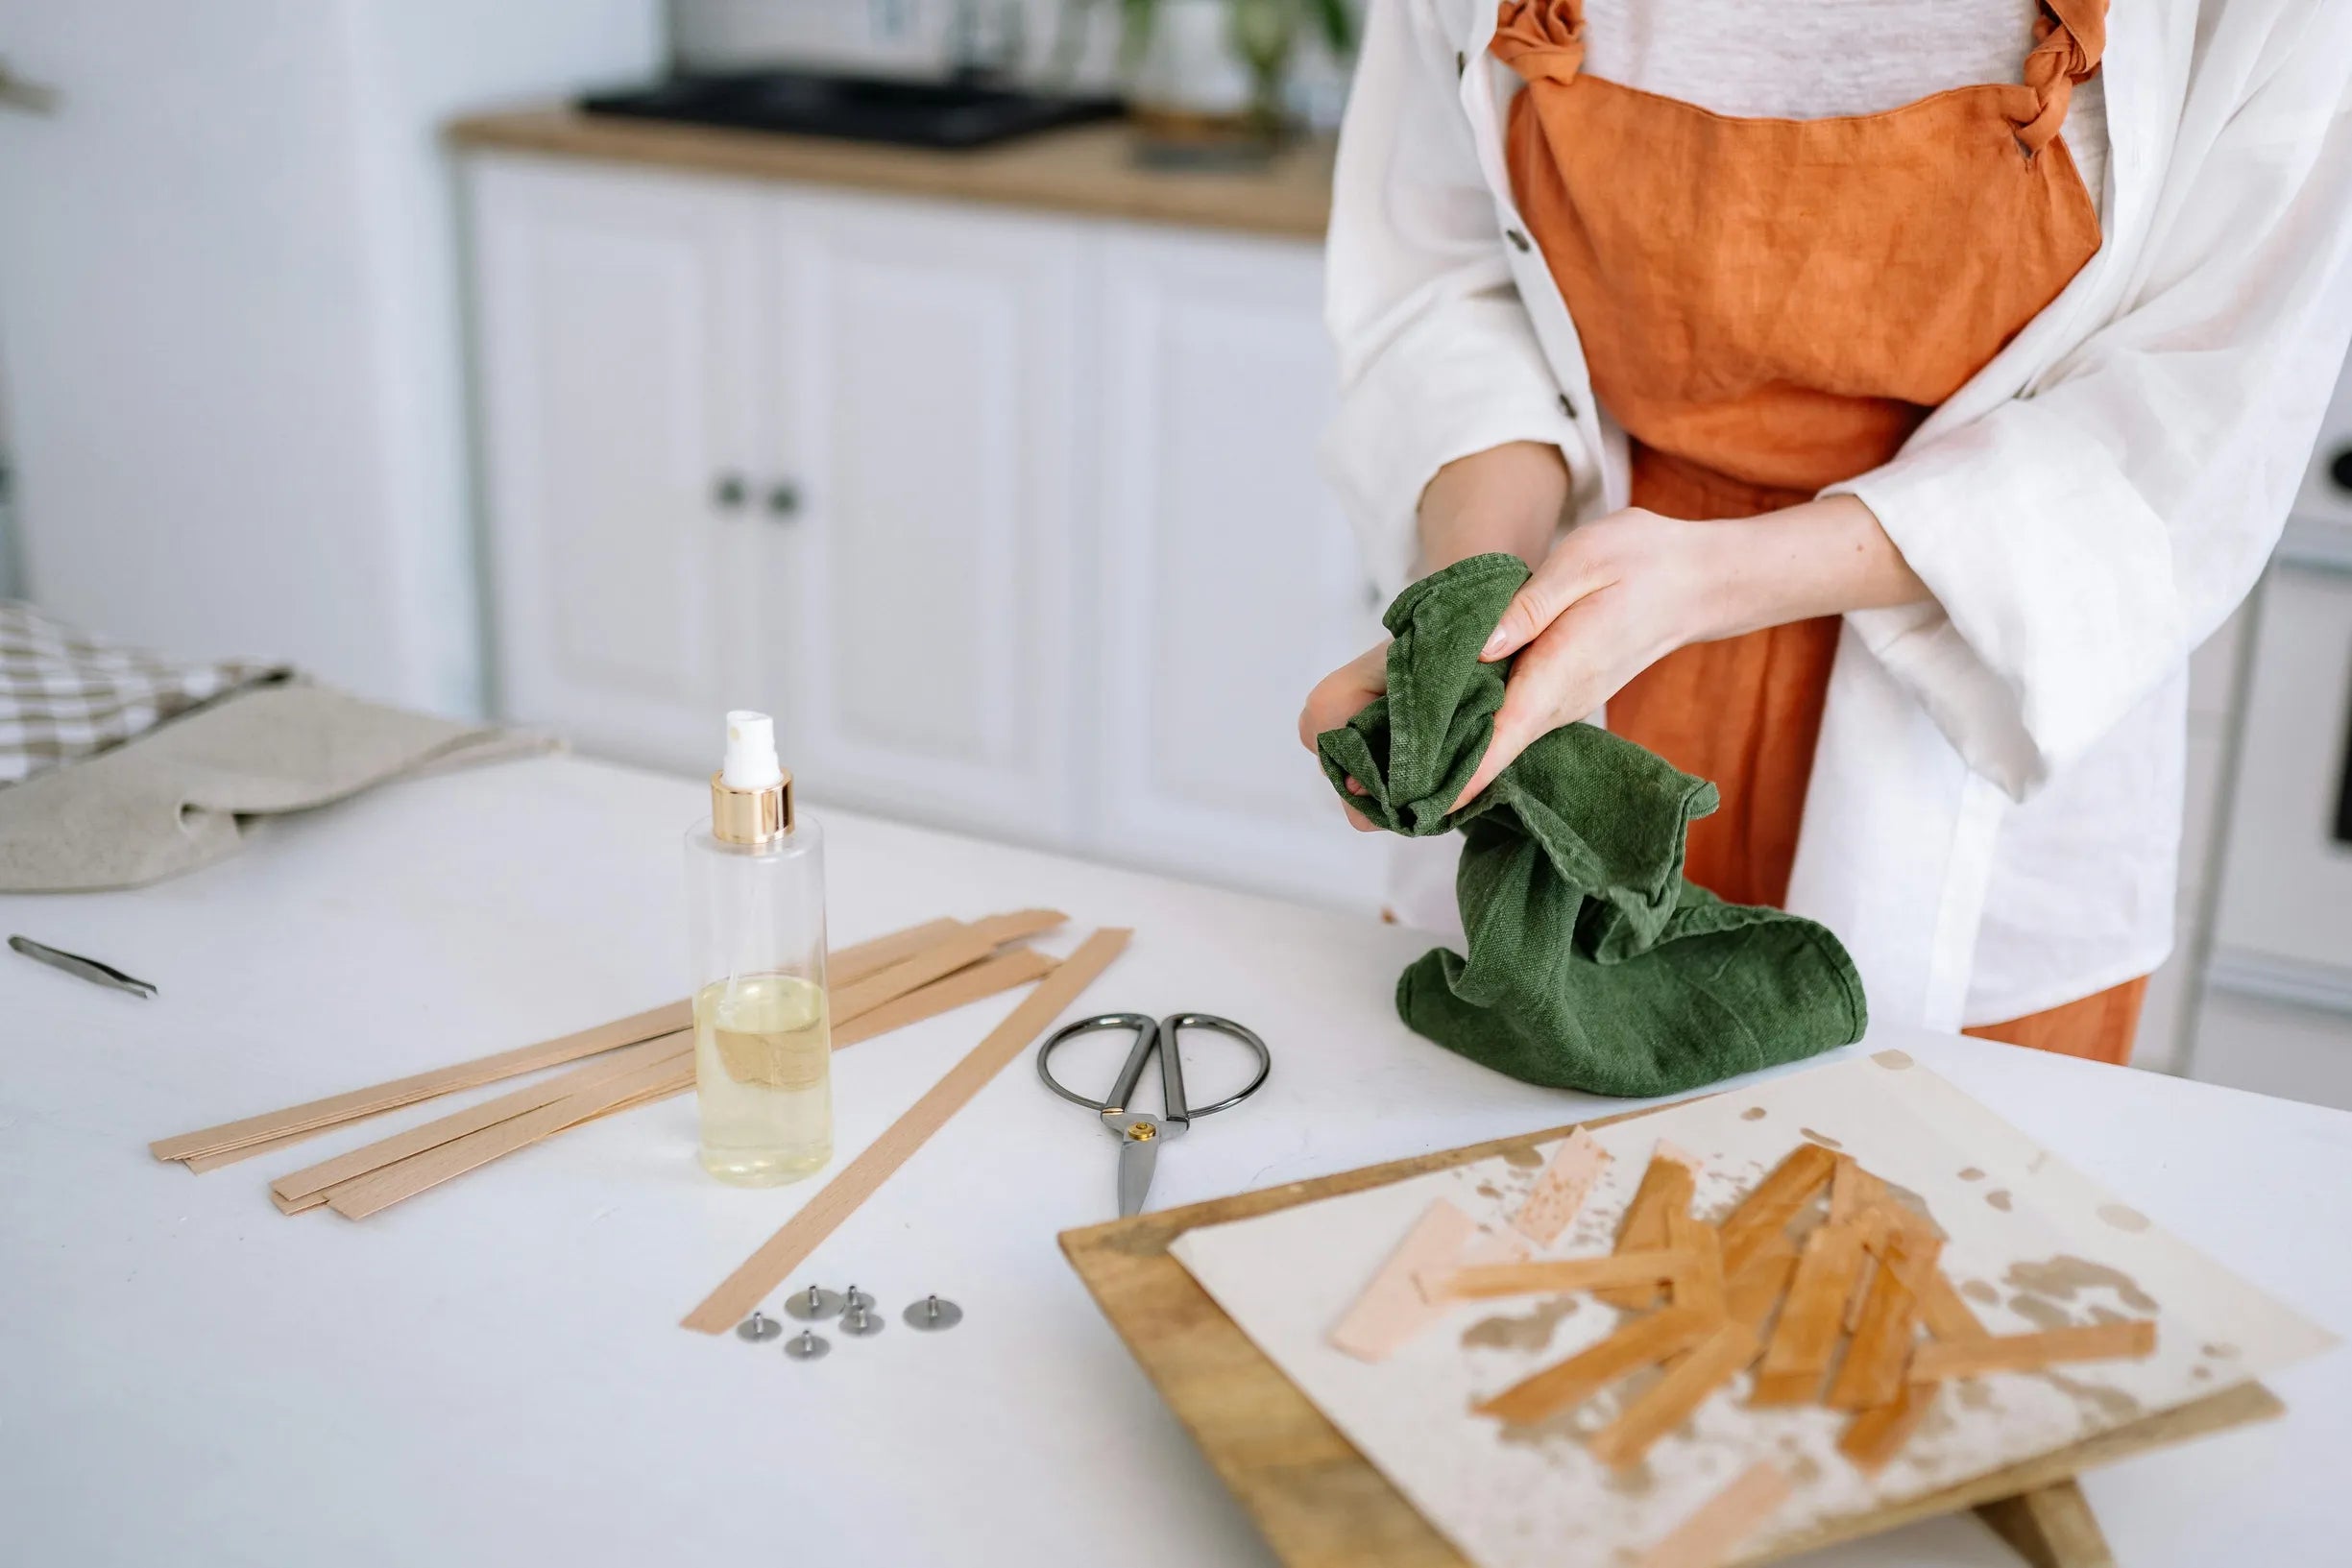
Use a durable layer while inspecting and repairing trainers

2. Assess the weather, terrain and wear risk for your route
Think ahead: light drizzle on a paved high street is not the same as heavy rain on puddle-prone roads. Favour higher, drier routes or adjust your plan to avoid water-sensitive conditions. Match the terrain to your trainers' materials — grit, gravel and salted surfaces abrade synthetic uppers and soles, while muddy trails force repeated scrubbing that wears finishes. Before you set out, do a quick repellency test by sprinkling a few drops on an inconspicuous area. If beads form, the surface repels water; if the material darkens, it is absorbing moisture.
Inspect construction for weak points such as seams, stitching, glued joints and tongue gussets. Bend the trainer to check for cracking, delamination or thinning at flex points that commonly precede leaks. Check tread condition, since flattened channels lose the ability to expel water and mud and so raise the risk of saturation on longer outings. Bear in mind that wet conditions and prolonged exposure weaken adhesives and harbour odour, so pack removable insoles, a change of dry footwear and breathable storage for wet pairs. Where possible, choose routes with firmer ground and shelter to reduce abrasion and speed up drying.
Change into warm joggers to dry off quickly.

3. Choose repellents and conditioners suited to your trainers' material
Start by checking the care label and identifying the upper material. Feel the grain to distinguish canvas, knitted mesh, synthetic leather or microfibre suede, then try a tiny water bead test on an inconspicuous area to observe absorption. That information shows which treatments will adhere without altering colour or texture, because woven fabrics and knits are best suited to water-based, solvent-free impregnators, whereas synthetic leather and microfibre suede need formulations designed for those materials. Always patch test a spray or a small, pea-sized drop and let it dry to spot any colour change, added stiffness or seam weakening before treating the whole trainer.
Match protector chemistry to the material. Use water-based, solvent-free protectors on woven fabrics and knits to preserve breathability. Choose formulations for synthetic leather that retain flex and prevent surface crazing. Select products labelled for microfibre suede to shield the nap without flattening it. Avoid waxy or oil-based treatments on mesh and knitted uppers because they can clog fibres and alter the performance of trainers, high tops and sneakers. Apply in light, even passes from the recommended distance, allow each coat to dry fully, and avoid saturating seams or the welt where the adhesive sits. For suede-like microfibres, brush the nap gently after the protector dries to restore texture. Reapply after heavy soiling or prolonged wet exposure. Favour water-based, low-solvent formulations that include proper disposal directions, since high-solvent or fluorinated treatments can persist in the environment and may degrade adhesives over time.
Pair with durable joggers that move with your trainers.

4. Always spot-test finishes and products to avoid damage
Spot testing matters for trainers and sneakers with synthetic uppers such as PU, microfibre, faux suede and coated canvas, because different treatments can darken colour, stiffen the material, reduce breathability or weaken adhesives. To test, clean a discreet patch gently with the cleaner you intend to use, apply a small amount using a cotton bud or soft cloth, leave it to dry completely, then inspect for changes in colour, sheen, texture and odour. Photograph the area before and after to document any differences. Demonstrate repellency by placing a few drops of water on the patch and note whether the droplets bead, soak in or transfer to a white cloth. Include simple mechanical checks: flex and bend the area to reveal cracking or flaking, press with a fingernail to check for tackiness, and rub with a white cloth to detect colour transfer. Pay particular attention to seams and glued edges where adhesives may soften. Record your findings and repeat the test on a similar hidden area if you need confirmation.
Test the full cleaning and protection routine on one inconspicuous patch before treating the rest. Cleaners can strip factory finishes and protectors may react with residues, producing outcomes that single-product spot tests can miss. Record the material, the exact product used and the results for colour, texture, smell and water repellency. Use those notes to decide whether to dilute a formulation, switch product, or avoid treating that area. Prioritise testing on lighter colours and textured finishes, as they reveal changes more readily and offer clearer evidence for a safe treatment choice.
Spot-test with an all-in-one sneaker cleaning kit.

5. How to apply protective sprays and coatings to trainers
Begin by brushing away grit and loose dirt with a soft brush. Wipe salts and surface grime with a damp cloth and a mild soap, and degrease any oily spots so protective coatings can bond evenly. Always patch-test any spray, cream or coating on an inconspicuous area, checking for colour change, stiffening, flaking or altered texture to catch compatibility issues before treating the whole trainer. Match the formulation to the upper: favour water-based protectors for synthetics, microfibre and textile uppers; use a dedicated suede protector for nap-finish microfibre; and avoid solvent-heavy or oily products on glued seams to prevent adhesive weakening and membrane clogging.
Apply the protective treatment in thin, even layers, using the tool recommended on the label. When spraying, keep the nozzle at the advised distance and work in light passes rather than one heavy application. For creams, use a soft cloth or sponge and spread gently. Build the finish with several light coats, buffing lightly between each to preserve texture. Avoid saturating seams or eyelets to prevent trapped moisture and weakened adhesive. Tape off laces, logos and decorative trims, and treat scuffs before coating so the finish sits evenly. Store treated trainers in a well ventilated spot until any solvent odour has dispersed. After prolonged wet exposure or a deep clean, reapply the same compatible treatment to restore water repellency.
Restore and protect trainers with an eco-friendly cleaning kit

6. Gently clean wet trainers to prevent stains and warping
When trainers get wet, blot away excess water straight away with an absorbent cloth or kitchen roll, working from the outside towards the centre. Rubbing can spread dyes and abrade surface coatings, so removing liquid quickly reduces the risk of stains and warping. Take out the laces and insoles and dry them separately. Prop the shoe with plain absorbent paper to improve air circulation and help the vamp retain its shape as moisture leaves seams and glue lines. To remove dried mud, soften it with a light misting, then lift it with a soft brush or cloth rather than scrubbing vigorously or machine washing, which can weaken seams and strip bonded microfibre finishes.
Test any cleaner on a hidden patch first to check colourfastness. For everyday grime, use a mild pH neutral soap and water, and keep a diluted white vinegar solution for mineral or salt deposits. These gentler cleaners lift soil without stripping surface finishes, so work with care and rinse thoroughly to remove any residue. Air dry trainers in a well ventilated, shaded spot, turn them occasionally and reshape gently with absorbent paper to prevent vamp collapse. Avoid direct heat and strong sunlight, which can soften adhesives, speed up sole separation and fade colour.
Refresh trainers gently with eco cleaner, brush and cloth.

7. Dry, reshape and deodorise trainers safely without heat
After exposure to rain, press an absorbent cloth or plain kitchen roll into the lace eyelets, along stitching and into the tongue fold to draw water out. Swap to a dry cloth to continue wicking moisture from seams and linings. This prevents water from sitting in glue lines and foam, which can cause adhesives to fail and leave lingering odour. Avoid heat: place trainers on a raised rack or open shelf in a well ventilated, shaded spot and use a circulating fan to speed drying with cool airflow. Moving air dries materials without warping or shrinking, whereas high heat can deform synthetic fibres and weaken adhesives.
Reshape trainers gently by inserting a wooden shoe tree or a neatly rolled clean cotton cloth to restore the toe box and heel. Support the trainer's original volume rather than overfilling; overstretching weakens seams and alters the fit. Place reusable desiccants, such as silica gel packets, activated charcoal sachets or dry tea bags, inside the shoe cavity to draw out remaining moisture and neutralise odours. Remove insoles, pat them dry and air them separately. For extra deodorising, sprinkle a little bicarbonate of soda into the trainer or into a breathable cloth bag, then shake or brush it out before wearing to keep footbeds supportive and reduce the risk of mildew and material breakdown.
Air-dry midweight fleece for comfortable post-wear recovery.

8. Make quick emergency repairs to stay on the move
If rain catches you unawares, slip a carrier bag, disposable shower cap, or packable shoe cover over the trainer and secure it with the laces or a rubber band to block surface water on mesh, knit, or synthetic uppers. Loosen laces, remove insoles, and stuff the trainer with plain kitchen roll or tissue to wick moisture from linings and seams, replacing the paper as it saturates to maintain drying performance. Brush or wipe off mud and road salt with a damp microfibre cloth and pat the area dry to stop abrasive particles and salt crystals accelerating fibre wear and colour change.
If soles or seams show gaps, press clear, water-resistant tape firmly over the exposed joint and smooth out bubbles to create a short-term barrier while travelling. Stash spare footwear liners and place damp insoles in an inner coat pocket so body heat speeds evaporation, reducing blister risk and odour without exposing trainers or sneakers to high heat that can weaken adhesives or distort synthetics. Remove any tape residue later with a mild cleaner, and avoid solvents or heat when removing covers to preserve glues and finishes. These quick fixes protect trainers and limit long-term damage until you can give them a proper, gentle clean and dry at home.
Wear mid-weight joggers with pockets to stash damp insoles.

9. How to repair scuffs, sole delamination and water marks on trainers
Identify the trainer material by feeling the surface and looking for a textile nap, a smooth sheen or woven fibres. Always patch-test any cleaner or adhesive on an inside tongue or the welt to check for colour change, tackiness or surface lift. For smooth PU (polyurethane) or coated uppers, wipe with a soft microfibre cloth and a mild, neutral soap, then buff dry. Use a damp melamine sponge for stubborn marks. For canvas, gently scrub with a soft toothbrush and diluted soap, rinse and reshape while still damp. For suede-effect microfibre, lift scuffs with a soft rubber eraser, then restore the nap with a suede brush or light steam. Synthetics can react unpredictably to solvents and heat, so that small trial patch can prevent much larger damage.
To remove water marks from trainers: blot away any excess moisture, then gently dampen the whole panel with distilled water or a mild soap solution to even out the wet area. Blot again and allow to dry naturally away from direct heat, reshaping the fibres as it dries. To repair delamination: clean both separated surfaces and let them dry. Apply a thin, flexible adhesive designed for flexible substrates, press the parts together and secure with clamps or clips until set. Trim any excess adhesive, then gently flex-test the joint to ensure a reliable bond. If colour has been lost, blend a water-based pigment or fabric paint sparingly at the repair edge to achieve a subtle match. Once fully cured, protect the repair with a flexible, water-repellent topcoat. Avoid strong solvents and bleach, which can damage materials and finishes. For separations that run along the sole or heel of trainers, consider a professional cobbler experienced in vegan materials for a longer-lasting structural fix. Following these steps can help extend the life of your trainers and reduce unnecessary waste.
Pair repairs with a vintage-washed tee for relaxed style

10. Establish a storage and preventative care routine for trainers
After a wet walk, brush away loose dirt, unlace your trainers and blot excess moisture with plain absorbent paper or a clean cloth. Insert a wooden shoe tree or plain paper to wick moisture and help the shape recover. Wicking stops trapped humidity that softens adhesives and encourages odour, so make it a routine after wet exposure. Rotate between a few pairs so each can fully dry and recover; constant wear concentrates stress on seams, midsoles and adhesives, while rotation helps prolong structural life without specialist care.
Store trainers in breathable conditions such as fabric shoe bags, open shelving or ventilated boxes. Place silica gel or activated charcoal pouches nearby to absorb moisture and odours; sealed containers trap residual dampness and raise the risk of mould and material breakdown. Always patch-test any water repellent or conditioner on an inconspicuous area before treating the whole trainer, and reapply after heavy wet exposure to maintain protection. After wet conditions, inspect seams, glued joints and sole edges for lifting, and use a soft brush to clear grit from seams before drying. Tend to minor lifting or loose stitching early, and note any recurring problem areas so you can adapt cleaning and storage routines or seek a repair specialist experienced with non-leather materials.
Protecting vegan trainers from rain starts with matching treatments to each material. Always test any protector on a hidden area first. Clean gently and dry carefully to avoid stains, layer separation and weakened adhesives. Map vulnerable spots such as seams and joins, then use water-based protectors on textile panels and coatings that are compatible with synthetic uppers. After exposure to moisture, dry trainers with cool, steady airflow and stuff them with absorbent paper to preserve shape and protect glue bonds.
Work through the guide step by step: identify materials, assess weather and terrain, spot-test products, apply protectors, clean and dry wet pairs, use emergency fixes, repair damage and store trainers sensibly to extend their life. Simple habits such as blotting wet areas, using water-based sprays on knits and rotating pairs help you spot seam lift early, reduce odour and keep trainers wearable for longer.
